Sourdough fermentation was most likely discovered by accident, when someone forgot about a mix of flour and water and noticed that, days later, this mix started coming to life. When science advanced, we started understating exactly what goes on in sourdough cultures, which are basically a mix of wild yeasts and lactic acid bacteria, which pre-digest the carbohydrates in flour, making nutrients readily available to the human digestive system.
In the 20th century, as demand for bread had risen dramatically, people isolated yeast cultures and began making them in laboratories, thus getting rid of the lactic acid bacteria fermentation component. Commercial yeast allowed the industry to produce huge volumes of bread, but the nutritional value of bread has fallen dramatically and today we are seeing the result of these fast breads – food allergies and intolerances.
Working exclusively with sourdough in a bakery is a difficult endeavor, as you are dealing with a live culture, but it remains the only way to ensure that you are not merely eating empty calories from breads and pastries.
Lately, sourdough has garnered a lot of attention, with the advent of the current healthy food, as well as the consumer’s search for healthier food options instead of the almighty supermarket breads loaded with additives and unpronounceable ingredients.
So how do we make our own sourdough starter?
It takes 7 days
Day 1.
Prepare the following ingredients:
- Flour – 50 grams (about 2 tablespoons). We will make 3 versions, you can choose one of these or work with a flour of your choosing:
👉Version 1 – 25 g rye flour + 25 g white bread flour. This is the easiest way, as rye will aid in the initial fermentation you need to get this culture going..
👉Version 2 – 25 g wholemeal wheat flour + 25 g white bread flour
👉Version 3 – 50 g white bread flour.
- 50 grams water.
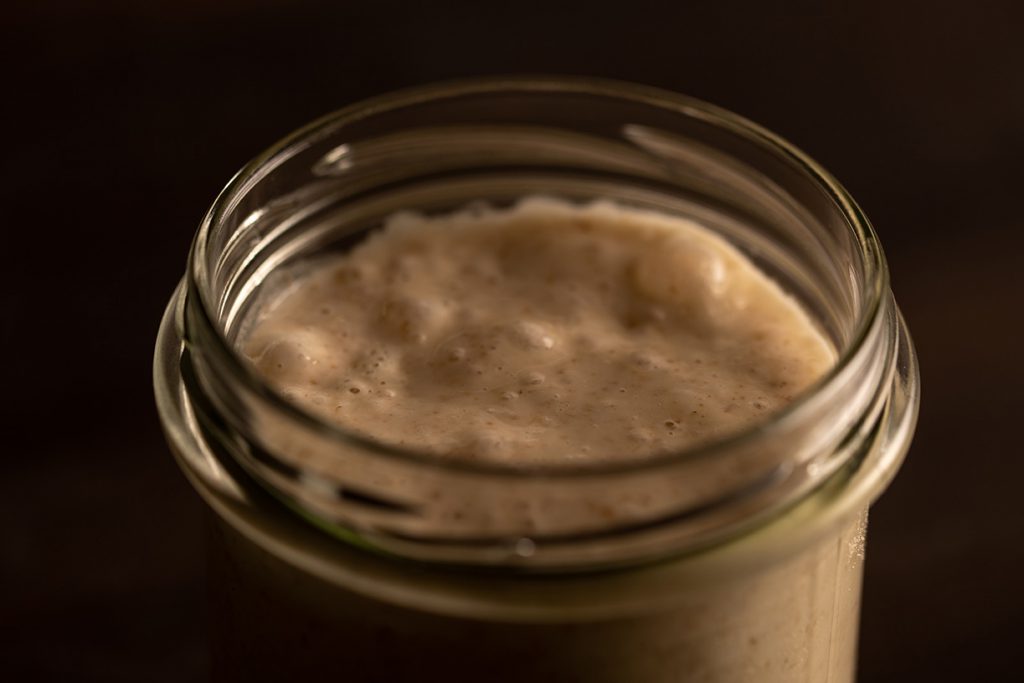
Place the water and flour in a jar and mix thoroughly until a paste is formed and there aren’t any more spots of un-hydrated flour left. Place a lid on the jar and keep it in a warm place (24-26 degrees), e.g. on your kitchen counter, just do not keep it near open windows or places where there is a heavy draft. If your kitchen is colder than 22 degrees, you can keep it in the oven with the light turned on – just be very careful someone doesn’t turn the oven on with the jar inside. It has happened before.
Day 2.
Please proceed as follows:
👉From your previous culture, only keep 50 grams and discard the rest (that’s right, throw 50 grams of the stuff out).
👉 Add 50 grams of water
👉 Add 50 grams of flour. We are feeding the three versions as follows:
🥖Version 1 – 30 g white bread flour + 20 g rye flour
🥖Version 2 – 30 g white bread flour + 20 g wholemeal flour
🥖Version 3 – 50 g white bread flour.
Just like the day before, you will put the starter in a glass jar with the lid screwed on and keep it in a warm place. At the next feeding, in another 12 hours, you will keep 50 g of the starter and you will add 50 g of water and 50 g of flour, the same as the previous feeding.
Day 3.
So, after performing the 2 feeds at a distance of 12 hours on Day 2, you continue exactly the same, with feed sessions every 12 hours, much the same as before – keep 50 g of starter, add 50 g water and 50 g of flour.
We will gradually change the feeding composition so that at the end we have a white bread flour starter with all 3 versions that we starter, but you can continue as you wish (you can have a rye sourdough starter or a wholemeal starter). You will be able to make bread with any kind of starter, we recommend keeping a bread flour starter merely because it is the one that requires the least amount of fuss and is the most versatile.
So, as of day 3 we will feed the 3 starters with 50 grams of water and:
🍞Version 1 – 40 g bread flour + 10 g rye flour
🍞Versiunea 2 – 40 g bread flour + 10 g wholemeal flour
🍞Versiunea 3, 50 g bread flour
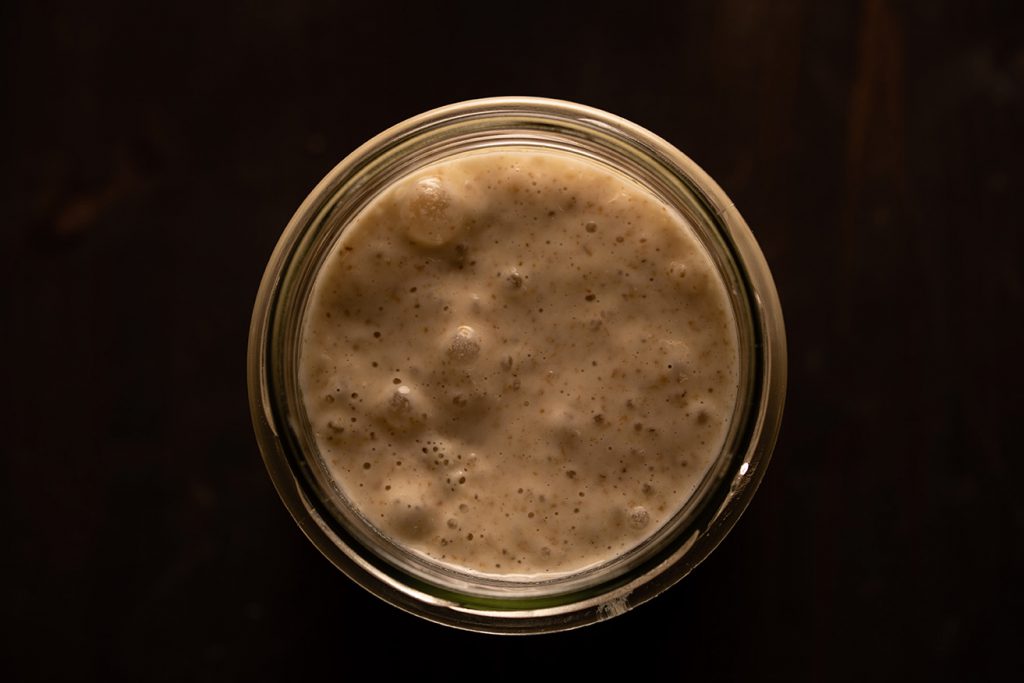
You should soon start to notice your starter is getting more and more vigorous, bigger bubbles, lots of activity in the jar in the 12 hours between feedings. Don’t worry if that doesn’t happen quite yet, every starter is different. Continue with the feedings and do not start making bread just yet, the culture is alive if you notice these signs of activity, but it is not quite ready yet for breadmaking.
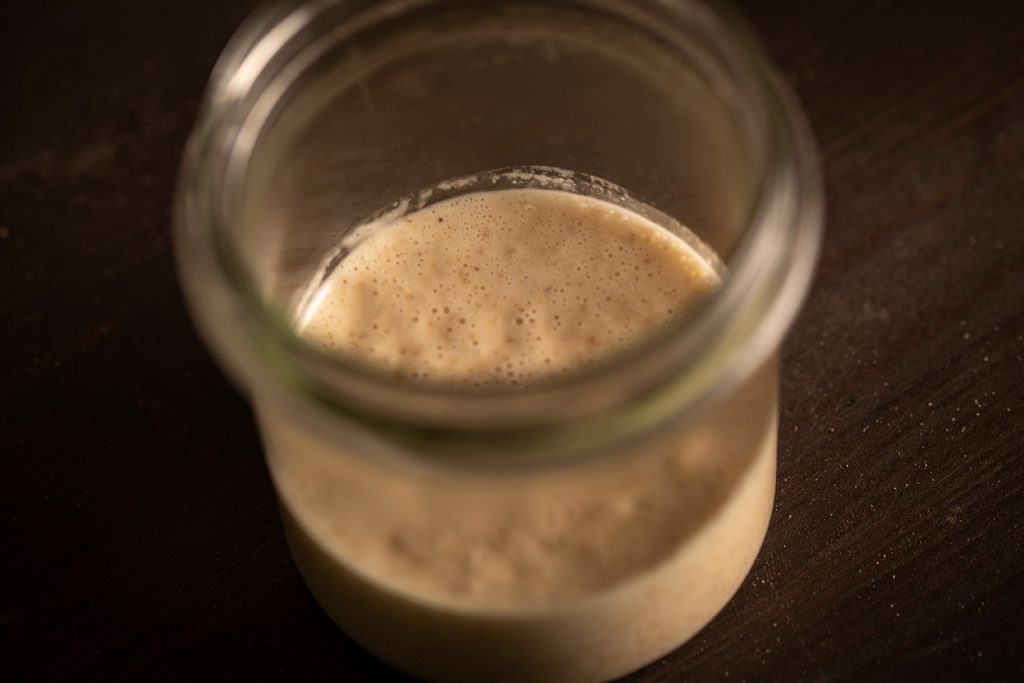
After each feeding, you can make a mark on the jar at the level of your starter immediately after feeding, so you will notice how much it has grown in between feedings.
Days 4-7.
We will continue to change the feeding composition so that at the end we have a bread flour starter with all 3 versions we starter, but you can continue as you wish.
So, as of day 4 and beyond, all 3 starters we have initiated will be fed with 50 grams of water and
🍞50 g bread flour
You should already start to notice signs of intense activity between feedings. If that’s not the case, don’t despair, some starters have a slower start and the purpose of this period of repeated feeding is precisely to build strength into your culture. You can try placing it in a warmer spot, or maybe change the flour (the differences between brands of flour can be significant). Try and understand what may be the reasons why your starter is not doing great and try correcting it. In any case, continue with the feeding schedule, you might be surprised at how vigorous your starter can begin to act from one point onwards.
Even if your starter already seems very active, we do not recommend using it for bread yet, the culture is still very unstable and you might not get the best results (the most common result of using a very your starter is a very dense and gummy loaf, as the starter does not yet have the capacity to properly ferment the dough).
Continue with the same feeding schedule every 12 hours until day 7, only then and only if your starter is very active you can start making bread.
We know that it may seem repetitive and useless, but trust us, it is not. A starter needs a lot of patience to grow strong and to be able to make good bread.
At the end of these 7 days you will hopefully have an active starter, which doubles or triples in volume in 8-12 hours. From here onwards, all you have to do is maintain this mayonnaise with – “How to maintain a sourdough culture”.