Rye doughs can be truly challenging even for seasoned many bakers. When we talk about rye doughs, we mean doughs where rye is predominant (so more than 70% rye out of the total flour amount). Whilst a small amount of rye flour (e.g. 10%) can have a desirable effect on a wheat dough (e.g. improves flavor and fermentation), a large amount of rye will make it behave in a completely different fashion.
So if you don’t quite know what to expect and you’ve never worked with rye doughs before, you may find yourself working an unconvincing pile of mud and you’ll end up hating them. However, rye doughs and breads can be a thing of beauty if they are properly understood and cared for. Some of our favorite breads are rye breads and we can testify to the beauty of these dense wonderful breads. So if you have only tried banale and mundane rye doughs so far, you don’t know what you’re missing.
Getting aquainted
A few things you need to know about the way a rye dough behaves before you get on with it:
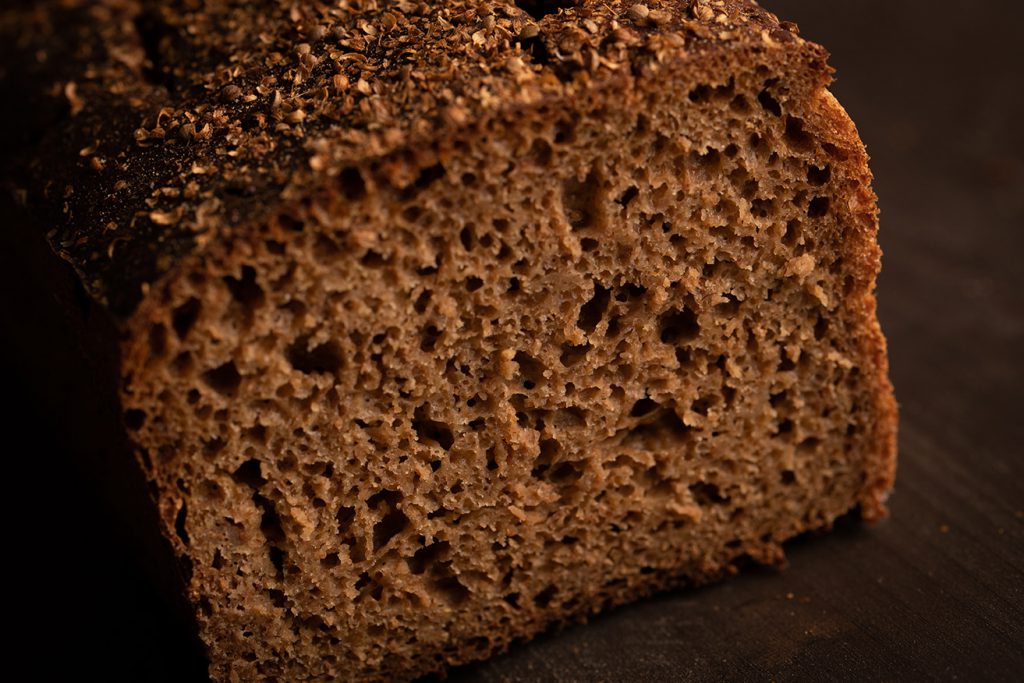
- If you’re expecting a light airy crumb, it’s simply not going to happen with rye doughs. The texture of a rye dough ranges from dense to brick. It’s not a bug, it’s a feature. 😁
- If you’re dreaming about a loaf with a wonderful gluten network, rye is not your answer. Rye doughs do not form a gluten network, they rise in a completely different fashion than wheat doughs. Whilst wheat doughs form gluten networks that are capable to hold together and trap gas bubbles, rye doughs are built around some carbohydrates named arabinoxylans (say that slooowly 😆) that form a sort of gel, which will act as a kind of structure to your rye loaf. That is the reason why rye doughs tend to have a sticky, gelatinous texture. Learn to love the stickiness.
- It is, in fact, this jelly texture itself the one that is responsible with rye doughs’ long life, as it has the capacity to capture moisture inside the dough much more than wheat doughs, thus preventing the breads from drying out even for a week after baking.
- Biggest issue you can encounter with rye doughs is starch attack. Amylases, which are essentially enzymes, in rye have the ability to turn starches into simple sugars. If these enzymes are not held under control, you’ll end up with the most gummy and horrible breads. There is one simple way to ensure that these enzymes don’t destroy your beautiful rye breads and that is to create a very acidic environment. It is the reason why most rye sourdoughs require an inoculation of 40-60% starter:flour ratio, in order to make sure that the overall acidity of the dough is very high. When you compare that to wheat doughs, where the regular inoculation runs somewhere between 20-25%, you can clearly see the difference.
So, what’s the difference?
Whilst rye doughs can be somewhat similar to other doughs, there are some significant differences you may want to take note of before you brave out into this new world.
- We’ll start with, well, the starter. If you’re making rye doughs, you will want to work with a rye starter. If you have a nice wheat starter, the only thing you need to do is convert it – “How do you convert your sourdough starter” with a few feeds into a rye starter. It’s always a good idea to keep on maintaining your mother culture in parallel with these experiments you might want to try along the way so that, if something goes wrong, you always have a nice healty culture to go back to and give it another go.
- It’s not always the case, but many (and the best) rye doughs to require a few additional steps in preparation before the final dough. So you’ll often see the preparation of soakers and scalds 1, even 2 days before making up the final dough. Don’t skip those steps, they each have their own meaning. In some cases, it has to do with the acidity level your starter should have before you use it, in other it relates to the proper hydration of ingredients (e.g. cracked rye grains are usually soaked in boiling water 1 day before making up the dough). Rye is a grain that has been used for hundreds of years and our ancestors have found creative ways to make sure they can extract the best flavors from it. Making the same recipe, but skipping these steps will most likely give you an inferior loaf, whether in texture or taste profile.
- We have already mentioned the fact that rye doughs require a higher acidity level than wheat doughs and the easiest way to manage that is by using a higher amount of starter in your dough.
- Because rye doughs are usually more acidic and because rye starters are also usually more acidic than wheat starters, there are some tricks to make sure you don’t end up with a super sour bread. One is soaking up flour or cracked rye berries (which releases the sugars in rye) and another is using a small amount of sweetener for these doughs. There are numerous sweeteners you can use, be it honey, molasses or even fruit.
- Because rye doesn’t form a gluten network you can also skip a few phases in breadmaking, such as autolysis and stretch and folds. The reason why you autolyze or stretch &f old your wheat doughs is to make sure that you help develop a nice gluten network. Since that’s never going to happen in a 100% rye dough, you can skip it no problemo.
- Now, because your rye doughs contain significantly more starter than a wheat dough and because rye ferments faster, you need to decrease your fermenting times in a significant way, usually rye doughs only require 1-1.5 hours fermentation time, both for bulk ferment and final proofing. Yes, that means that it can take as little as two hours from the time you knead the dough until it hits the oven. Don’t get super excited though, all in all it may take you up to 2 days to make the dough and another 2 to be able to eat it (whoooooot?).
- Rye doughs don’t really benefit from long cold fermentation – whilst we recommend cold proofing for your wheat doughs, rye doughs are usually proofed at room temperature or even higher (up to 28 degrees).
- You may already know it’s not a great idea to cut a loaf right after it’s been taken out of the oven. When it comes to rye breads though, that is a sacrilege, most rye doughs require a resting time of 24-48 hours after baking until you cut and eat them.
- It’s not just that your dough will not react kindly to being cut right after baking, it’s also the fact that rye breads don’t really taste that great right after being taken out of the oven.
- Rye breads also change and improve their flavor profile a few days after being baked. The only breads we don’t sell the day they’ve been baked are rye breads, as we are convinced that their flavor is far from best after baking. We found that, generally speaking, rye breads reach their best flavor profile sometime after 3 or 4 days after being baked. If you do bake rye breads, try and keep a few slices and test them every day up until day 7-8 after being baked and you’ll see the way flavor changes every day.
That would be a very brief introduction to rye doughs. Rye can be very fussy and annoying to work with, but given the proper care and understating you can make the most remarkable rye loaves. That’s if you like dense flavorful bricks, of course, which we do. 😊