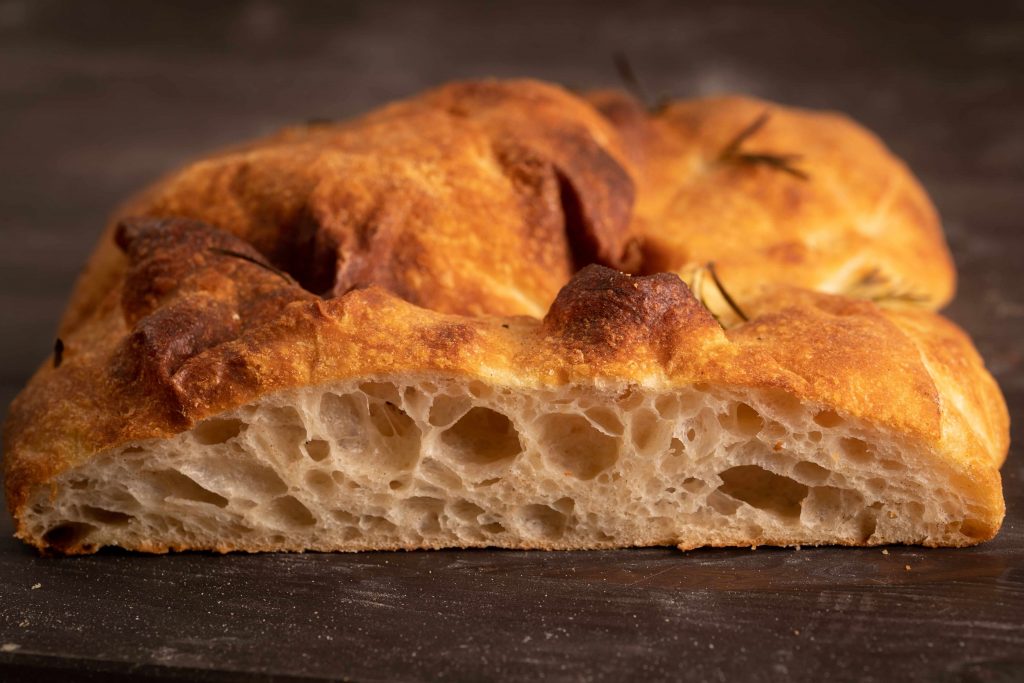
Main features: thin crust, open crumb
Type of dough: medium hydration dough
Flours used: white wheat flour, strong bread flour (we also used Infibra and kamut flours for an improved flavor profile, please see details below)
Tips for a correct execution:
- Folding the dough during bulk ferment
- Long cold retarding the dough for a rich taste profile
- Short baking time in a properly heated oven
Pairing: prosciutto, pancetta, salamis, cheese, hummus, salads, you name it.
Focaccia in one of the ancient breads of this world. Its first written records date back to ancient Rome, where „panis focacius” is a flat bread baked in the wooden ovens. Focaccia etymology is tied to latin (focus – baking place). Over the ages similar flatbreads show up in other countries too, one example is the French fougasse which is most likely connected to the focaccia (fougasse, focaccia, sound similar?).
It is a relatively easy and fun dough which is a sure bet if you follow a few basic rules to develop a healthy gluten network. First step is a proper dough knewding (until the dough passes the window pane test) and fold it a few times during bulk ferment. Shaping is super fun, but you must be delicate to not ruin those bubbles you fought for during the previous stages.
You can use white wheat flour for your focaccia (as is traditionally done), but if you’re aiming high taste wise, we think this dough needs something extra. For this recipe, we also included some Infibra wheat germ flour and kamut flour, in order to get a better tasting focaccia as well as a more nutritious product. However, you can replace these flours with white wheat flour, if you just want a basic focaccia.
A good olive oil is also key to a good focaccia. You don’t need a super fancy oil, but the thumb rule here is if you wouldn’t use it in your salad, don’t put in in your focaccia either. Let’s get to it then.
Ingredients
| Ingredient | Grams | Baker’s percentages |
| Strong bread flour (we used molino Denti Manitoba) | 500 | 53% |
| Wheat germ wholemeal flour (we used Infibra W300*) | 230 | 25% |
| White kamut flour (we used Molino Rachello bio) | 200 | 21.5% |
| Water | 780 | 83% |
| Extra virgin olive oil | 140 | 15% |
| Salt | 23 | 2.3% |
| 100% hydration sourdough starter | 350 | 37% |
*The reason why we use the Infibra flour instead of a regular wholemeal flour is that the texture of this flour is very different to a regular flour. Infibra flours are much finer, which makes them best choices for doughs where you wish to add a little texture, taste and fiber without sacrificing the gluten network. Regular wholemeal flour bran act like small blades that cut through your gluten network, which is why when you add wholemeal flours, your dough tends to collapse. Infibra also has addes wheat germ, the most nutritious part of the wheat grain, which makes it more nutritious, but also more tasty than regular wholemeal flours. The process of making these flours (we won’t go into unnecessary details, it’s a very complex process) allows for a result that have a wholemeal flour consistency, but act more like a strong bread flour (there are Infibra flours with a strength index that reach all the way up to 380, which is the equivalent of a manitoba flour). We used a mix of flours for richer taste and texture, but you can use only bread flour by replacing the Infibra and kamut with white wheat flours, if you wish.
Method
- Knead the dough
- You can mix by hand or use a mixer. Whatever you use, you need to thoroughly knead the dough, until it passes the window pane test.
- Add the flours, sourdough starter and gradually add in the water, adding more only after it has been absorbed completely within the dough.
- Once your dough starts coming off the mixer or mixing bowl walls, add the salt and mix for another 30-45 seconds (more if you are mixing by hand).
- Finally add the olive oil and mix for one minute more, until it is completely incorporated in the dough.
- Bulk ferment
- Grease a bowl with olive oil and transfer your dough to this bowl for its bulk ferment.Let it proof for one, one and a half hours, during which you can apply the following procedures:
- One stretch & fold once you’ve transferred your dough to the bowl;
- Laminate it after 30-45 minutes;
- Coil fold after a further 30-45 minutes.
- Grease a bowl with olive oil and transfer your dough to this bowl for its bulk ferment.Let it proof for one, one and a half hours, during which you can apply the following procedures:
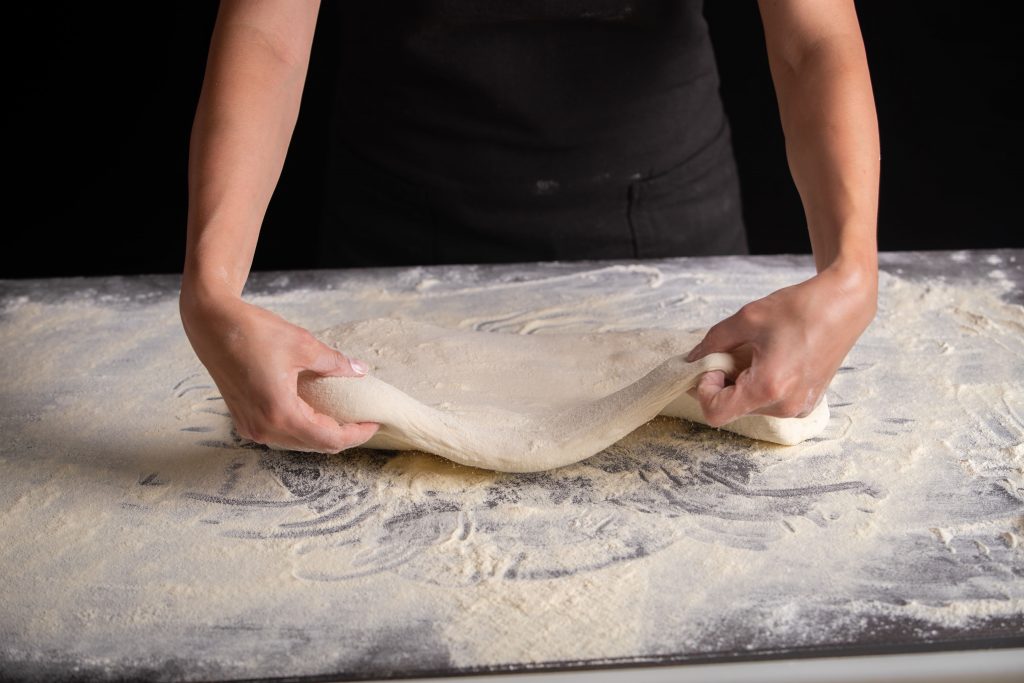
- Shaping
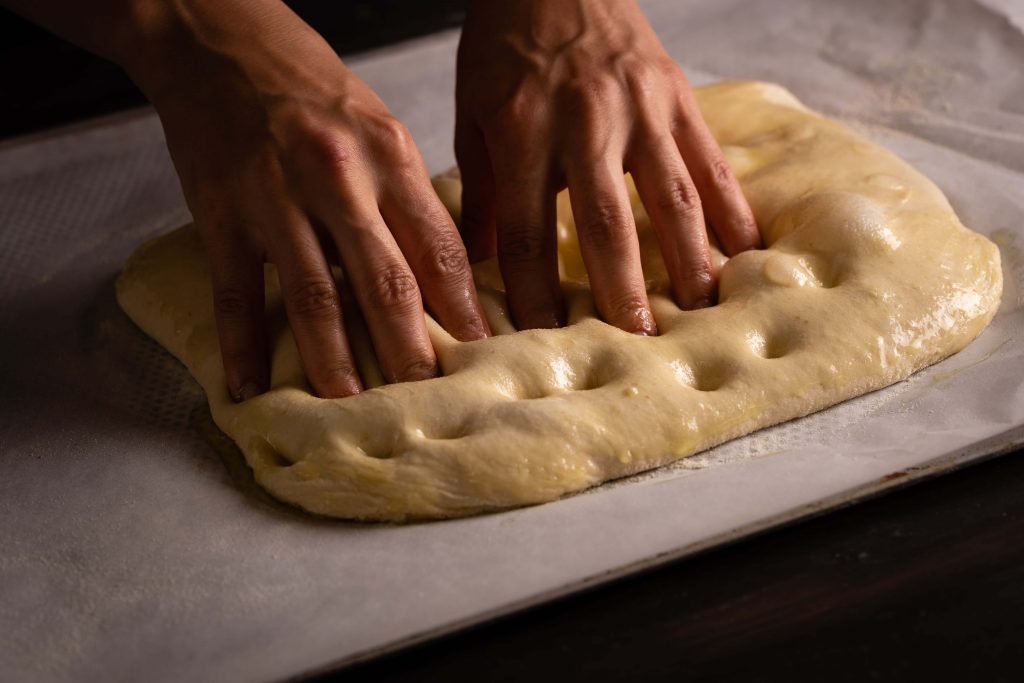
Remove your dough from the fridge, oil a baking tin (the same tin you intend to bake your dough in) and gently stretch your dough from center to margins using your fingers, until the dough reaches a height of about 3-4 cm. Don’t force the dough, gently stretch it and if at any point the dough seems to squeeze back, let it rest for 10-15 minutes and then continue).
Once you have stretched your dough, cover the tin with a kitchen towel or some plastic film to avoid drying. Let it proof at room temperature until it passes the poke test (2 – 2.5 hours).
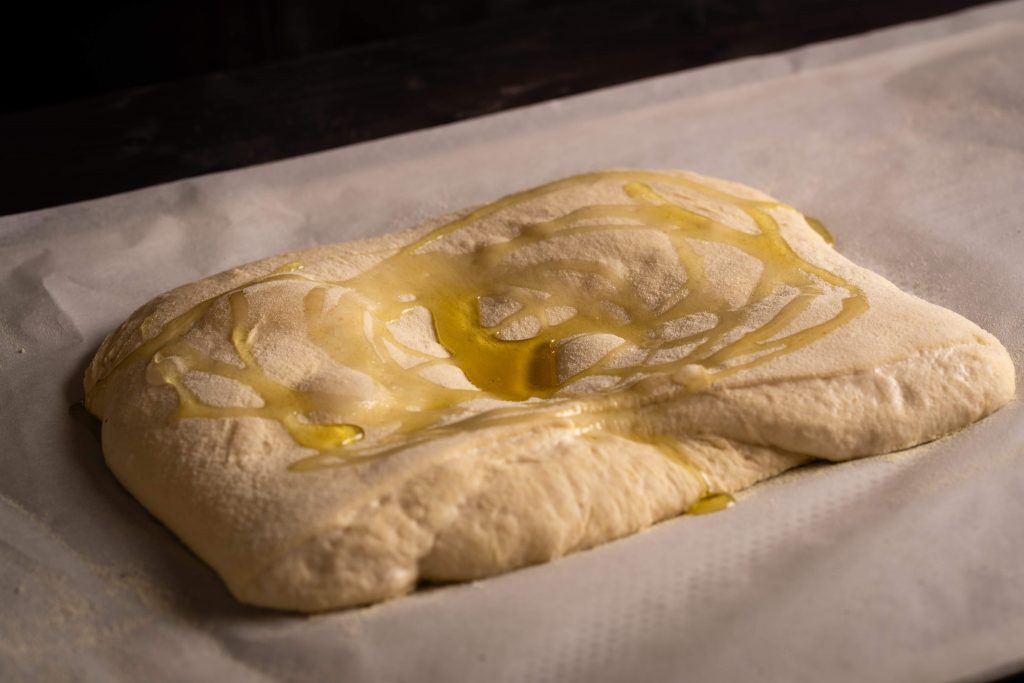
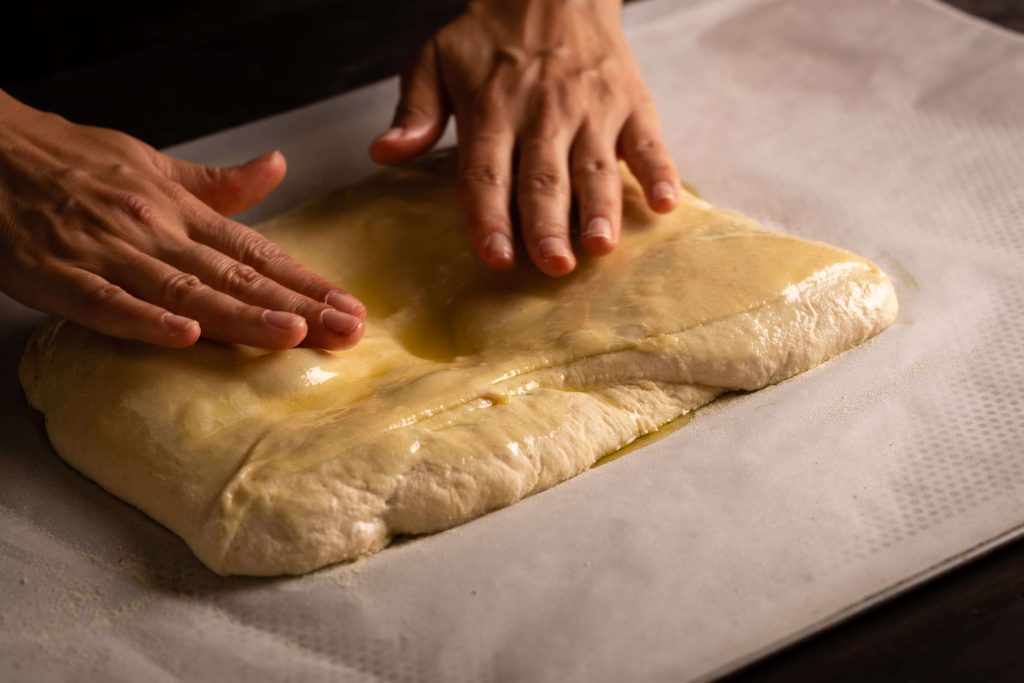
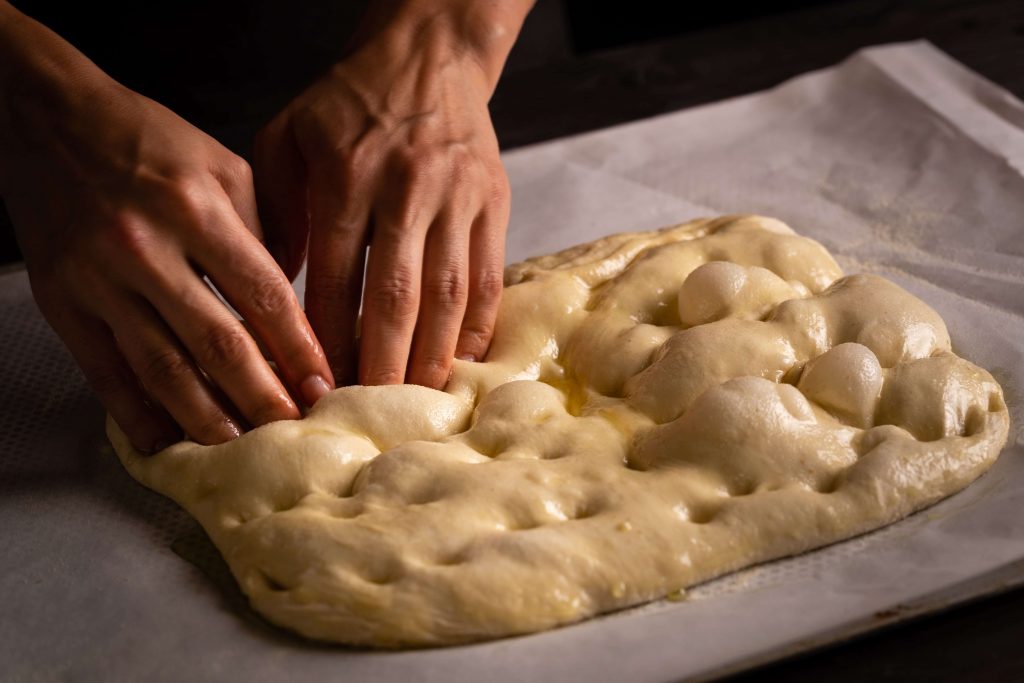
Once your dough is fully proofed, sprinkle olive oil and salt on top and gently rub it across the surface.
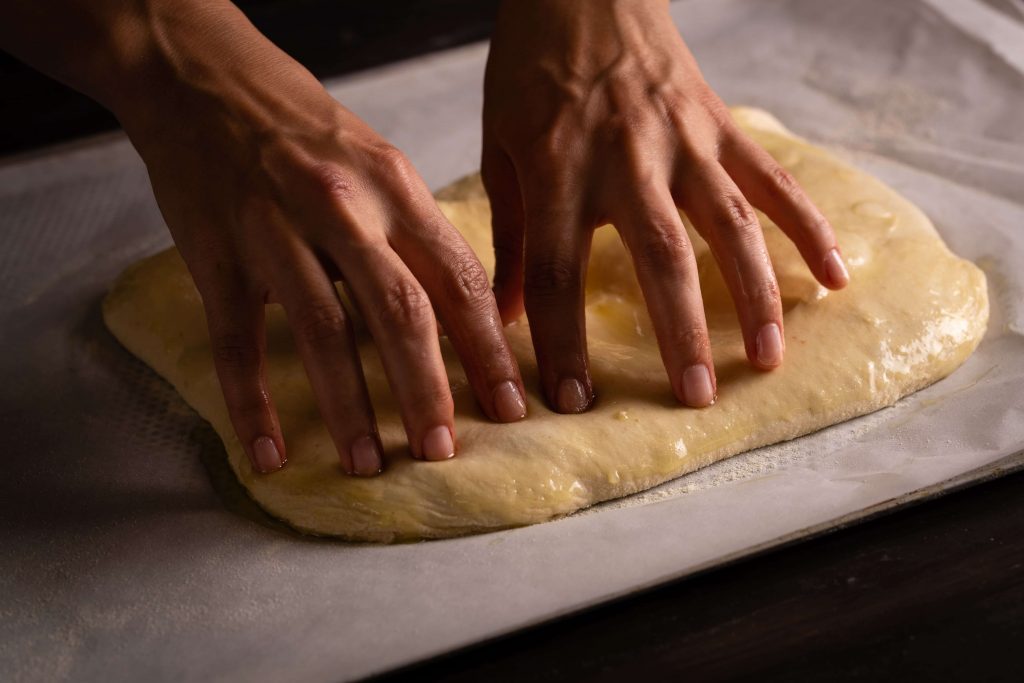
Then, firmly using your fingers, poke dimples in the dough. Continue dipping your fingers into the dough until there are dimples across its entire surface.
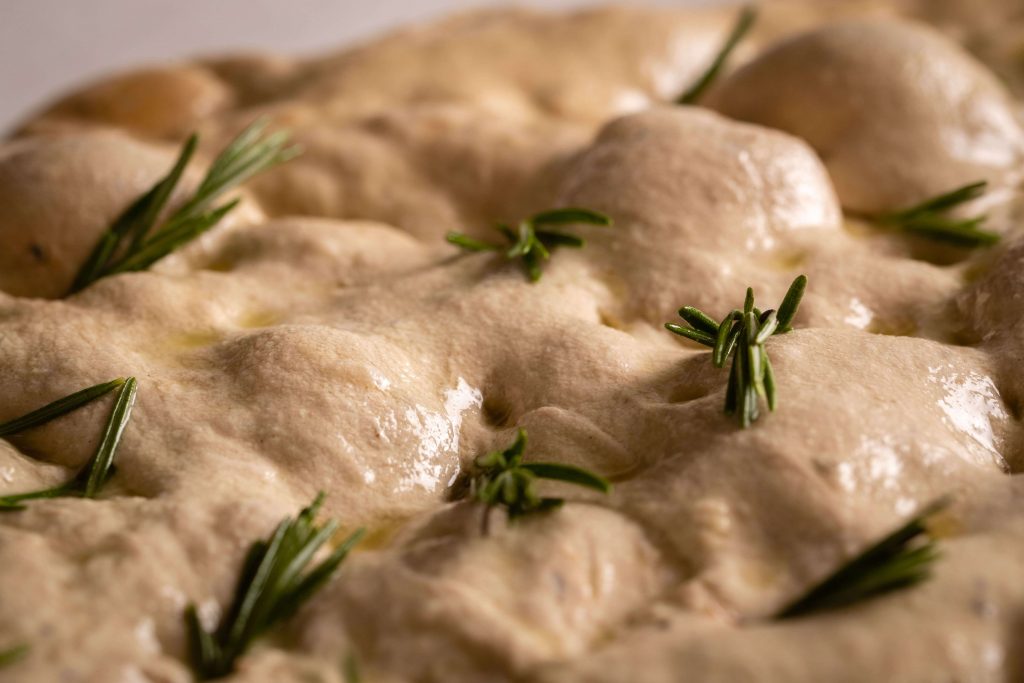
If you wish you can also add your favorive herbs onto the dough before baking.
Baking. Bake your dough 7 minutes at 230 degrees celsius with steam. Remove the steam source and bake until brownish, 10-15 minutes more.
Wait for your focaccia to cool until you cut it. If the wait is too hard, break a few pieces of your focaccia straight from the oven, but do avoid cutting it while it’s still hot.
Enjoy it with your favorite dish or by itself.
Keep calm & bake the world a better place!